
Free Cleaning schedule
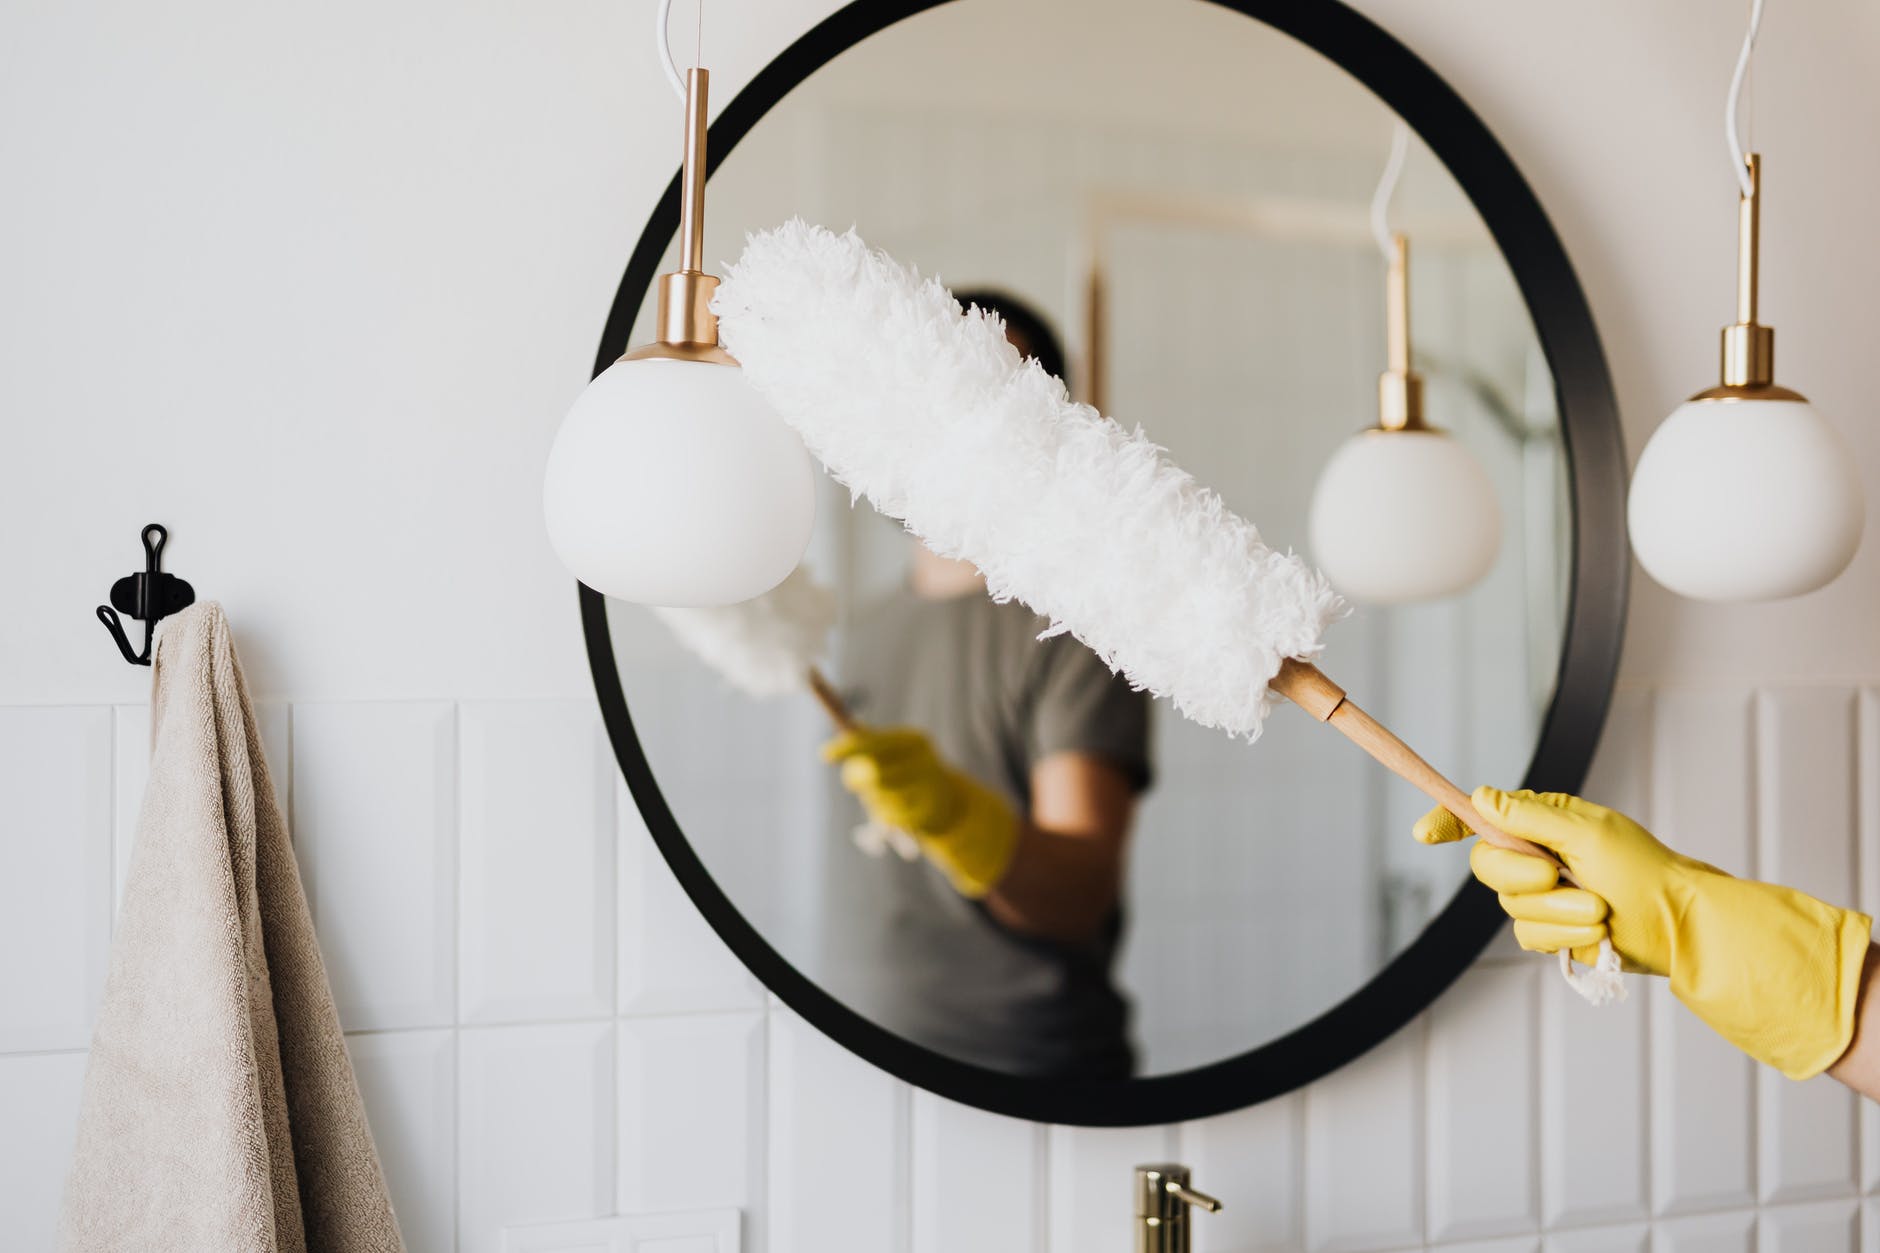
CLEANING
As a mom, we often are responsible for the cleaning in our houses. Here are a few tips and tricks to keeping a clean and tidy house.
MEAL PLANNING
Many people have tried meal planning, but just can’t stick to it. I will show you a NEW way to meal plan that will save you money and time!

GROCERY SHOPPING
I think weekly grocery shopping trips are not necessary and actually cause people to spend more money. With my NEW way of grocery shopping, I am able to save TONS of money and time!